
In this post I will show how to retrieve all Hyper-V VMs and save the output. This is especially helpful if you want to bring an overview into your chaos. Let’s dive in.
I have many VMs in operation and this is what they look like:

A good overview, but not good enough. Now let’s go. We’ll get the most important information about these virtual computers with PowerShell.
Open PowerShell, ISE or VS Code.
Execute the following command to retrieve important info of your VMs.
Please note that I have already formatted the output, because you won’t like the standard output, believe me. By the way, I hate list outputs.
Get-VM | Select-Object Name,ProcessorCount,`
@{name='Memory';expression={[math]::Round($_.MemoryAssigned/1GB,0).tostring() + ' GB'}},`
@{n='Uptime';e={(Get-Date) - $_.Uptime}},State,Version | Format-Table
This gives you the output below.

Finally, we can save the output to a file. Either in a txt file or as an HTML file.
TXT
Get-VM | Select-Object Name,ProcessorCount,`
@{name='Memory';expression={[math]::Round($_.MemoryAssigned/1GB,0).tostring() + ' GB'}},`
@{n='Uptime';e={(Get-Date) - $_.Uptime}},State,Version | Out-File $home\vms.txt
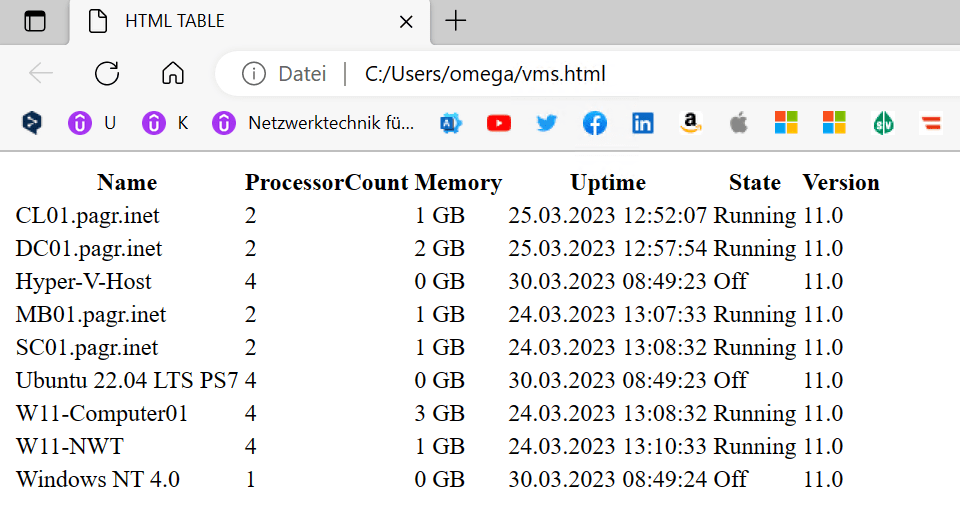
HTML
Get-VM | Select-Object Name,ProcessorCount,`
@{name='Memory';expression={[math]::Round($_.MemoryAssigned/1GB,0).tostring() + ' GB'}},`
@{n='Uptime';e={(Get-Date) - $_.Uptime}},State,Version |
ConvertTo-Html | Out-File $home\vms.html
That’s it for today.
Categories: PowerShell, Windows Server


Is there a way to display all VMs of a Hyper-V failover cluster?
LikeLike