
Today I had the task of figuring out how Goolge Chrome can be started in Kiosk Mode. And now, I want to keep this knowledge in form of this blog post. First of all: What is Kiosk Mode? Kiosk mode is a special mode for computer programs that restrict the user right’s. You can configure it for the operating system or for applications only. Kiosk Mode is often used for public institutions and public events.
Make a shortcut
In order to enable kiosk mode we have to create a shortcut linked to chrome.exe. For this guide I save the shortcut on the desktop. It doesn’t matter where you store it. The most important thing is, that you are able to find it again 😉
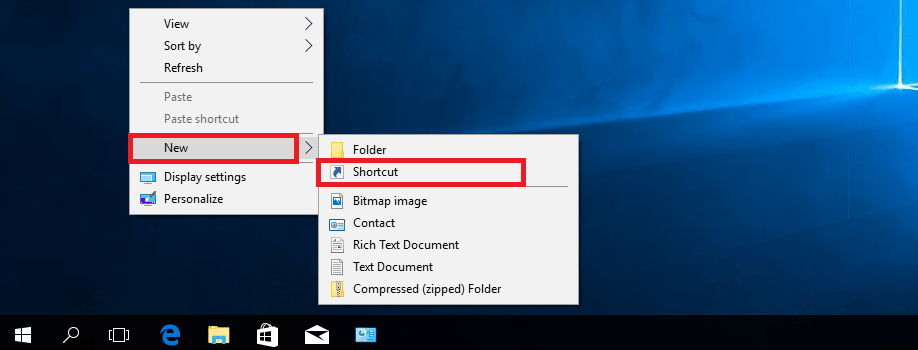
Right click and select New – Shortcut.
Now enter the path to chrome.exe by browsing your computer or by entering the path to chrome.exe. You can also provide an URL to a website (optional).
"C:\Program Files (x86)\Google\Chrome\Application\chrome.exe" -kiosk http://sid-500.com
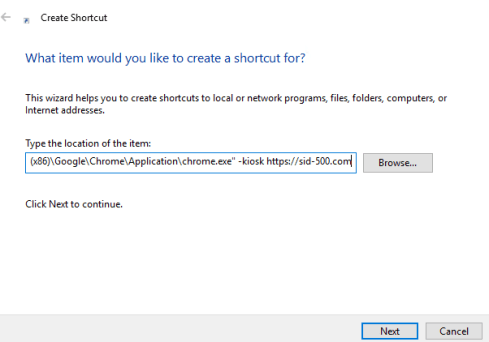
If chrome is installed at another location, then enter the custom path.
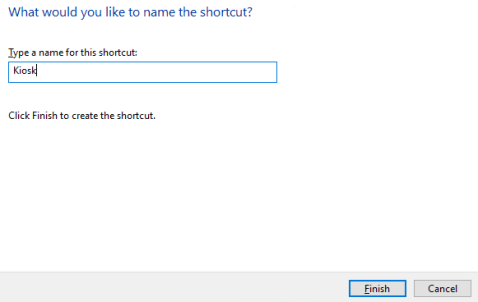
Click Next and enter a shortcut name that makes sense. Click Finish.
Chrome Kiosk Mode in Action
Let’s try it out! Click on the shortcut and see what happens. Note that there is no taskbar anymore.
On a virtual computer it look’s like this:
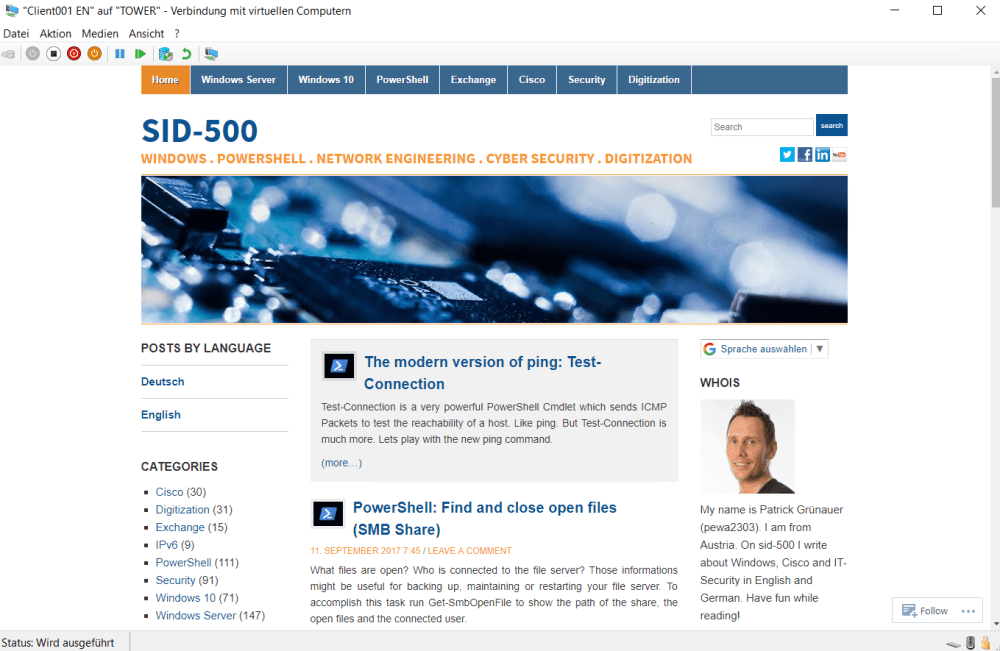
Cool stuff!
Code for PowerShell and IT-Pros
Real men don’t click 😉 Copy this code in PowerShell for avoiding clicking around.
$WshShell = New-Object -comObject WScript.Shell
$Shortcut = $WshShell.CreateShortcut("$Home\Desktop\Kiosk.lnk")
$Shortcut.TargetPath = "C:\Program Files (x86)\Google\Chrome\Application\chrome.exe"
$Shortcut.Arguments = "-kiosk https://sid-500.com"
$Shortcut.Save()
Categories: Cyber Security


