
Microsoft Advanced Threat Analytics (ATA) is a platform that enables you to protect your infrastructure from cyber attacks. ATA is using a parsing engine to capture network traffic of protocols such as Kerberos. It monitors authentication and authorization. This can be done with port mirroring from Domain Controllers and other important computers. You can also deploy ATA directly on Domain Controllers which is called ATA Lightweight Gateway.
ATA supports installation on a server running Windows Server 2012 R2 or Windows Server 2016.
ATA can detect attacks such as Pass-the-Ticket, Pass-the-Hash, Golden Ticket, Brute-Force and much more. In short:
- Malicious attacks
- Abnormal behaviour
- Security issues
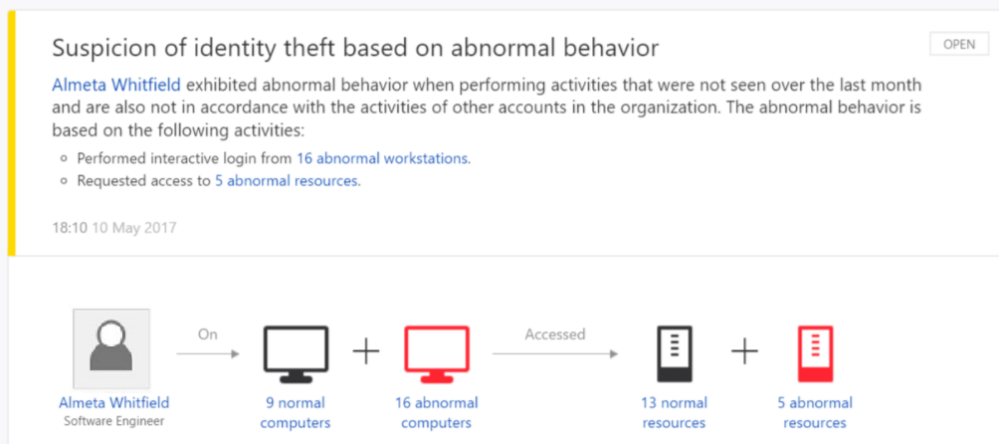
In this article I’m going to install the ATA Center on a Member Server of my Active Directory Domain. Then my Domain Controller will be configured as an ATA Lightweight Gateway, so there is no need for a dedicated server or configuration of port mirroring. Both server run Windows Server 2016. This sample screenshot from the Microsoft Docs shows what is possible. At the end of the article I will simulate a reconnaissance via DNS.
Link: https://docs.microsoft.com/de-de/advanced-threat-analytics/what-is-ata
For downloading the 90-day ATA trial follow this link:
https://www.microsoft.com/en-us/evalcenter/evaluate-microsoft-advanced-threat-analytics
Installing ATA Center on a Member Server
Run the Microsoft ATA Center installation package.

Click next.

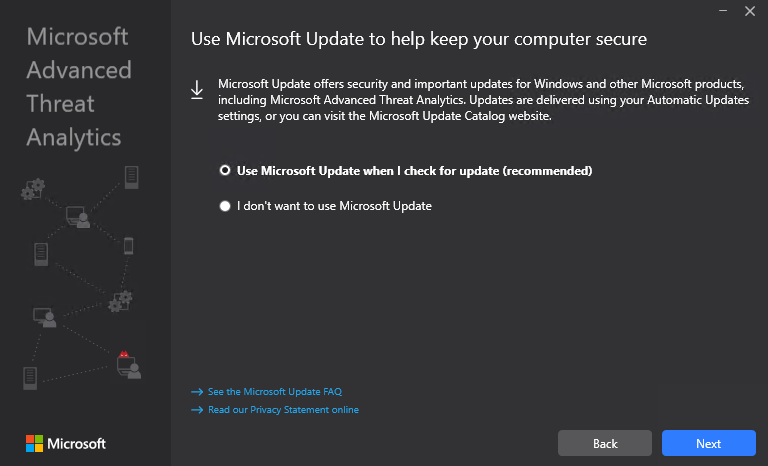
Accept the license terms. I would strongly recommend to check for updates before proceeding.
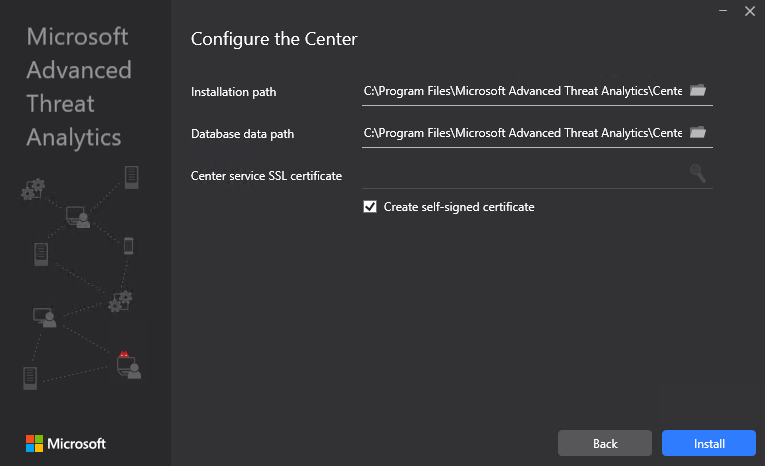
Choose an installation and database path. If you have a valid SSL certificate then provide it in this step. I don’t have one, so I choose Create self-signed certificate. Click Install.
Progress …
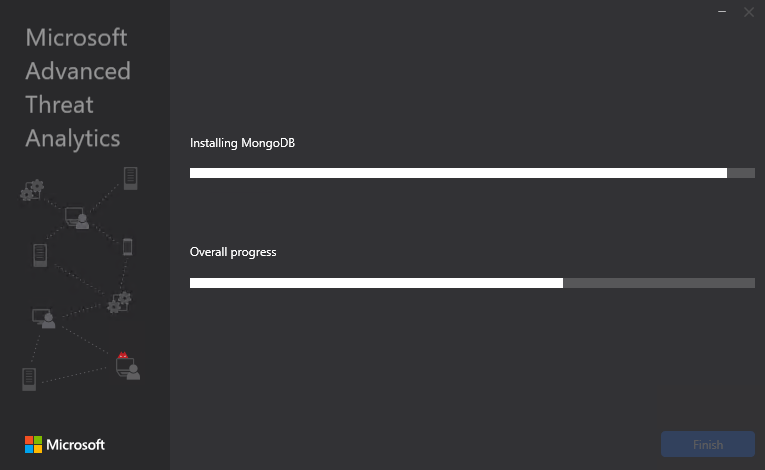
I’m surprised how quick an painless it is to install it on my member server.
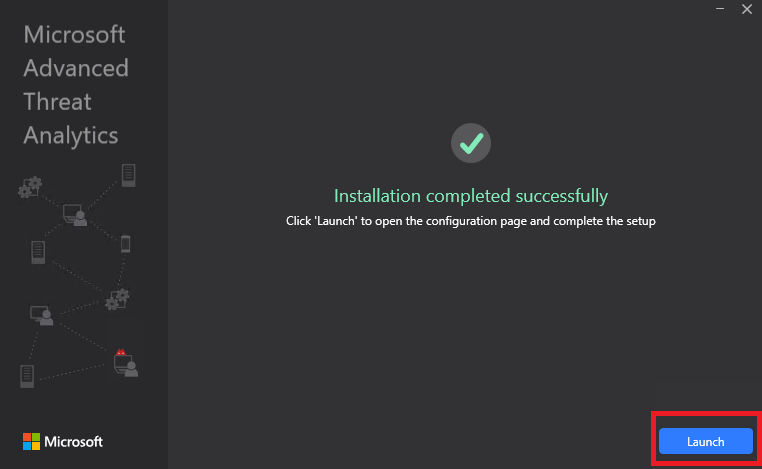
Now click on Launch. Accept the certificate warning.

Nice view. 😉
Creating an Active Directory ATA User (Read Access)
Switch to your Domain Controller. Our next step is to connect our ATA Center to the AD Forest. We have to provide a username and password. This user should only have read access to all Active Directory objects. Domains users by default have read access to Active directory objects.
 More about the prerequisites here: https://docs.microsoft.com/en-us/advanced-threat-analytics/ata-prerequisites#before-you-start
Connect to your Active Directory Forest
Now switch back to the member server ATA center. Enter username, password and your domain name. Click on Test connection.
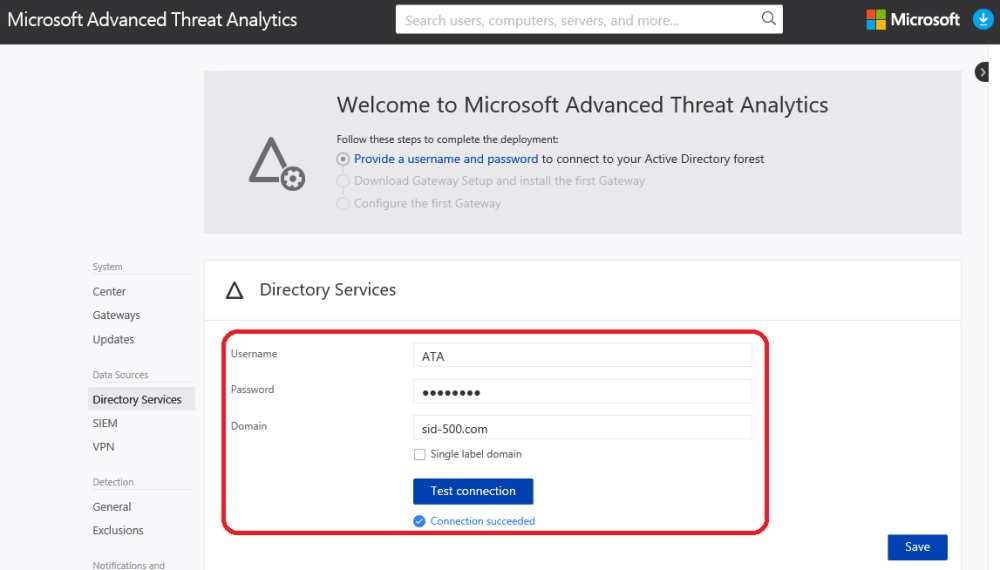
That’s it. Click Save.
Configure the ATA Gateway
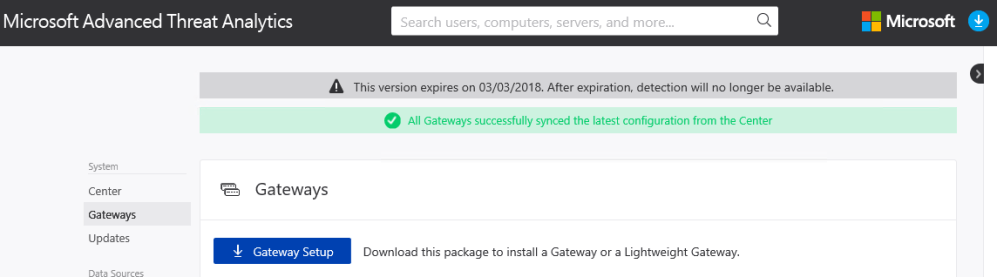
Our next step is to download the Gateway setup and configure our first Gateway. My Domain Controller will become the first gateway. In ATA Center click on Download Gateway Setup.
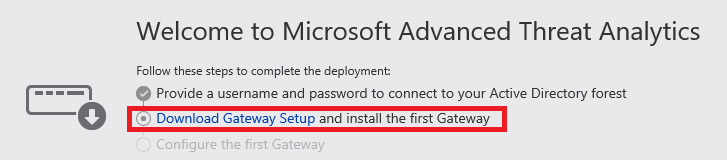

Save the file to your computer. Copy it to your Domain Controller. On your Domain Controller extract the installation package and open Microsoft ATA Gateway Setup.exe.
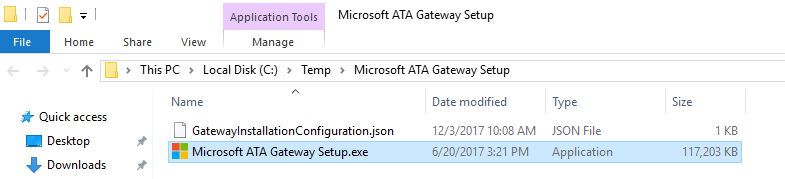
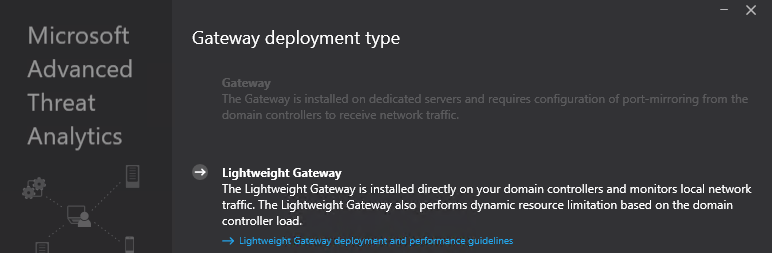
Choose your language and click Next. As mentioned, I will use a Domain Controller as an ATA Lightweight Gateway. Select installation path and click Install.
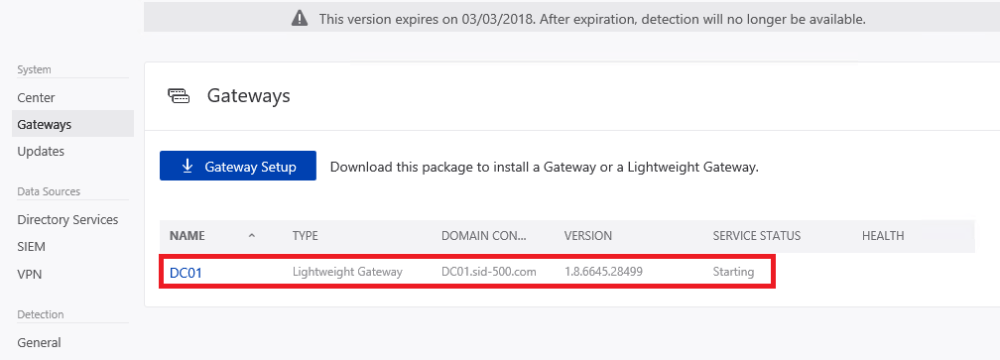
A quick glance at the ATA Center shows me that the Gateway was successfully installed and has done it’s first sync.
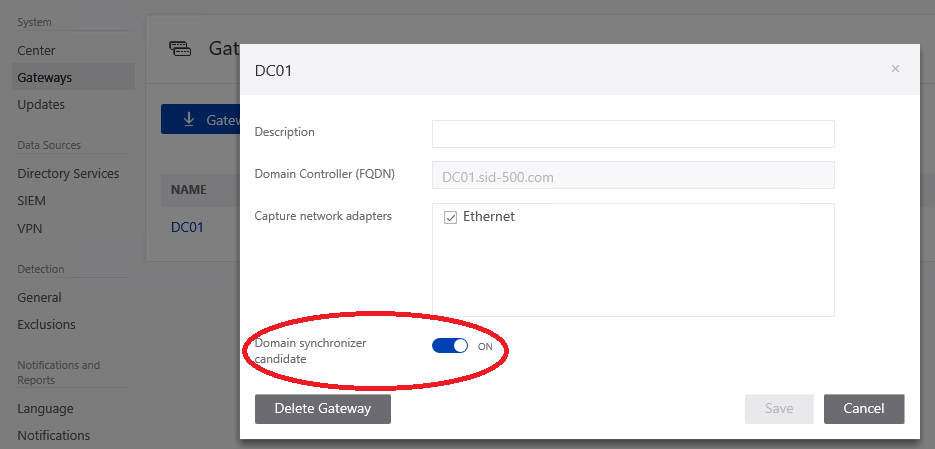
Click on the name of your gateway and check Domain synchronizer candidate. It should be set to ON.
Look at the right area. ATA begins learning. This may take some time.
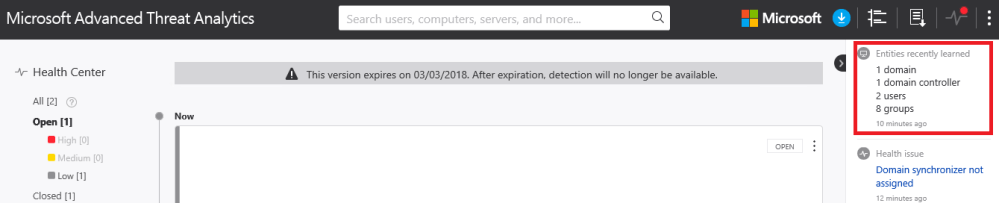
We’re done. Exciting moment. My network is now monitored.
ATA and PowerShell
There is a PowerShell module for ATA available on GitHub. I haven’t tried it yet, here is the link: https://github.com/Microsoft/Advanced-Threat-Analytics
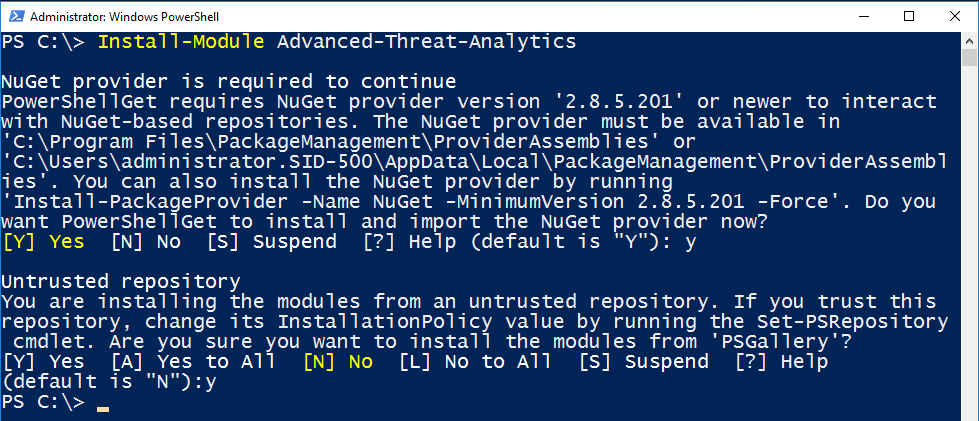
Another way is to install it via Install-Module.
Install-Module Advanced-Threat-Analytics
First look.
Get-Command -Module Advanced-Threat-Analytics | Select Name
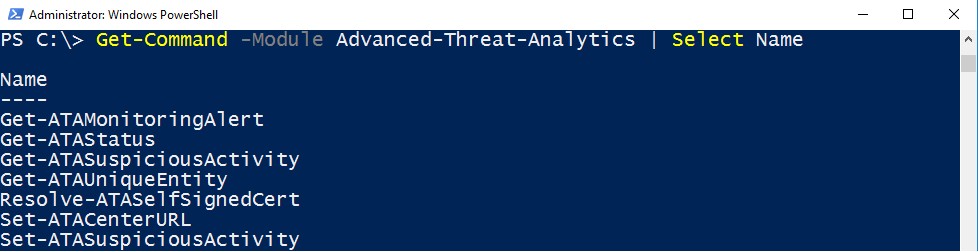
Maybe I will play with this commands later on. For now I want to do my first test with ATA.
First steps …
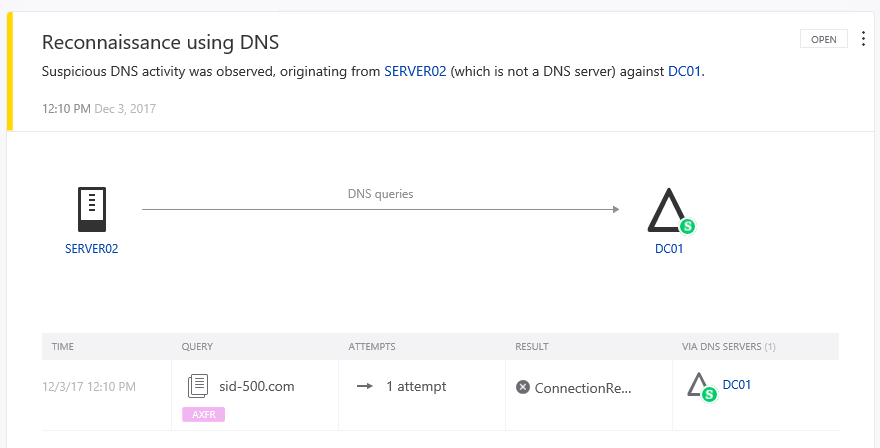
My first tests are already done. Here’s a complete DNS zone transfer attempt:
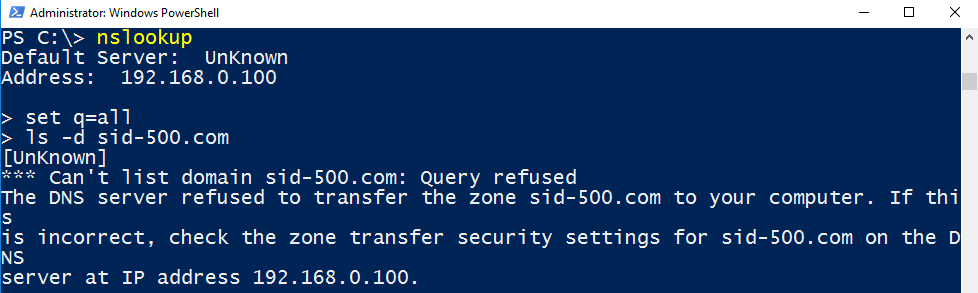
This activity was recorded by ATA a few minutes later. Nice.
What’s next?
Well, as promised I will write down my experience with ATA later on in another blog post, because now ATA has to learn and analyze the default behavior and activities of my infrastructure for a longer period of time. Stay tuned!
Categories: Cyber Security, Windows Server


Thanks for the write up on this topic. If your domain controller doesn’t have the advanced auditing turned on for lets say Kerberos authentication service..i.e. TGT request 4768 Event ID, would ATA still be able to detect pass the ticket type attacks just by the network traffic analysis alone ? I couldn’t find a clear answer on this.
LikeLike
Thank you for the comment. Sorry, I don’t know. If you can figure this out, please share.
LikeLike
thank you
LikeLiked by 1 person