
It’s inexplicable to me, but my students have always been the most attentive to remoting. I don’t mean the traditional remote connections from computer to computer with remote desktop or the other stuff, but the connections with the smartphone. For some time now it has been possible to control your cloud computer or cloud resource via an app. The app is called Microsoft Azure. Let’s try it out.
I have 2 Azure VMs. One is running Windows Server 2016, the other Ubuntu.
The Microsoft Azure App
The app is available for Android and for IOS. I have an iPhone X, so this article is all about playing with the App on IOS.
Once installed, log in.
The Dashboard
On the Dashboard you can find all your ressources.

Starting a VM via App
As a test, I am now going to start one of my server. In order to do this, I click on the computer and press the start button.

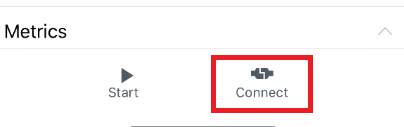
Connecting to the Azure VM
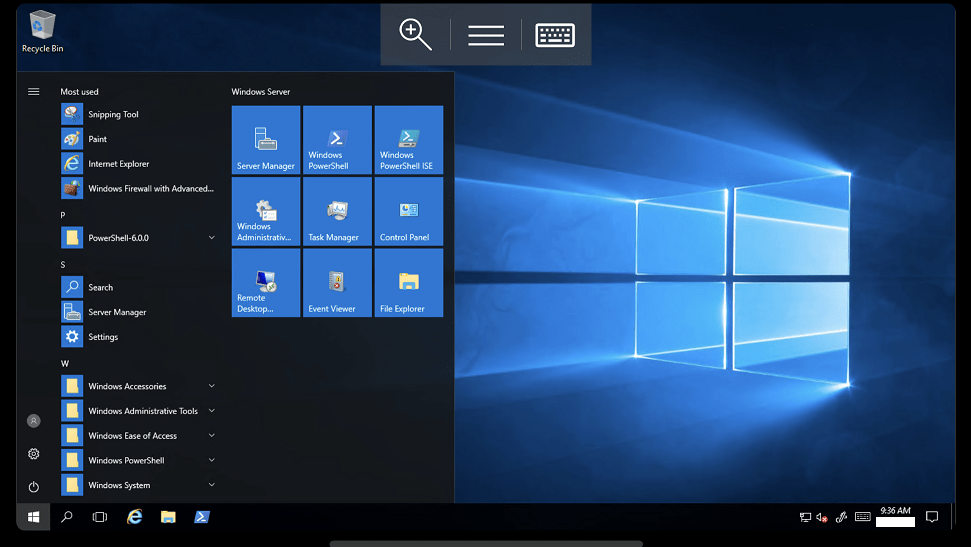
After completed, I should be able to connect to my Azure Computer, which is running Windows Server 2016. Click Connect and provide your credentials.

Fine. I’m in! Cool. My Windows Server on my SmartPhone.
Ok now let’s try something else. For example, connecting via Cloud Shell.
Accessing the Cloud Shell via App
On the Dashboard there’s a small button Cloud Shell.

When I click on this button, the Cloud Shell, actually a Powershell session, opens.
And here we go …

Now let’s stop my recently started VM via Cloud Shell. We have to provide the Azure VM Name and the Ressource Group Name.

Summary
Work from anywhere, anytime with any device. I have to admit, working on the computer is a bit more comfortable, but for some quick tweaks, it’s useful to manage your Azure account and its resources quickly and easily from your smartphone.
Have fun!
See also
Microsoft Azure: How to create an Azure VM and connect via Remote Desktop
Microsoft Azure: Connect to your Azure VM with PowerShell (AzureRM)
Categories: Microsoft Azure, PowerShell


