
NAT is a technology to convert IP addresses. If you have a test environment then it might be necessary that your VMs need an internet connection and that you don’t want to use the external switch for that. In this blog post I will cover this topis and show you how you can create a NAT-Switch in Hyper-V in less than 3 minutes. Let’s go.
The following code sample creates a NAT switch for the address range 192.168.99.0 /24. Please note that you need to adapt the code to your environment. Read the code sample carefully and fill in your desired netword range. Take also care of the network card id of your host network adapter which is certainly different from mine.
<#
Scenario
Hyper-V Host: 192.168.0.102
VMs IP-Range: 192.168.99.0 /24
#>
# Create a new NAT-Switch
New-VMSwitch -Name NAT-Switch -SwitchType Intern
# Retrieve the Interface ID of your NAT-Switch
Get-NetAdapter
# Configure the first address of 192.168.99.0 /24 on NAT-Switch (Note the InterfaceIndex retrieved above)
New-NetIPAddress -IPAddress 192.168.99.1 -PrefixLength 24 -InterfaceIndex 32
# Activate NAT
New-NetNat -Name MyNAT -InternalIPInterfaceAddressPrefix 192.168.99.0/24
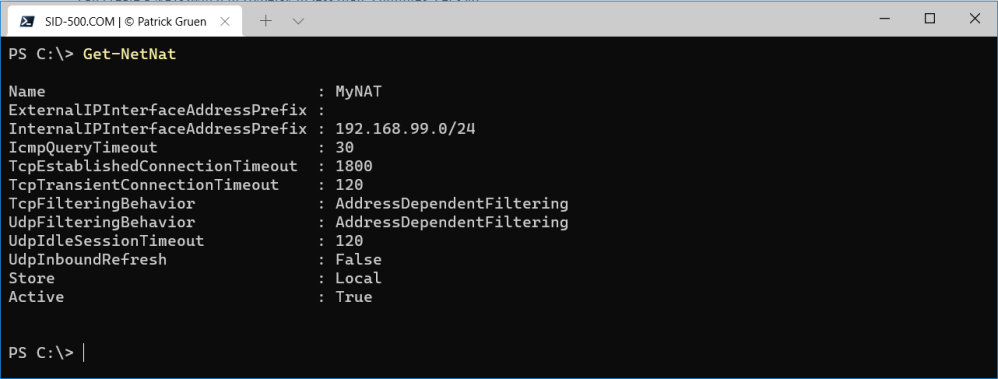
# Check NAT
Get-NetNat
Have fun with your newly created Hyper-V network with NAT enabled.
Categories: PowerShell


