
Have you always wanted to manipulate Windows error messages? Starting with Windows Server 2012, and of course also with Windows Server 2016 there is the possibility to do this. The prerequisite for this is the installation of the File Server Resource Manager, which is available as of Windows Server 2012.
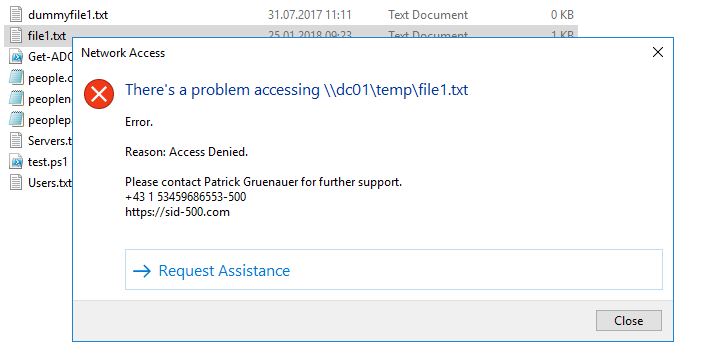
What I’m talking about is this message:

What do you think about this? This looks more sweeter …

Prerequisites
As mentioned, make sure your File Server is running Windows Server 2012 or higher. Additionally, make sure the File Server Resource Manager Role is installed. Check it with PowerShell:
Get-WindowsFeature *FS-Res*
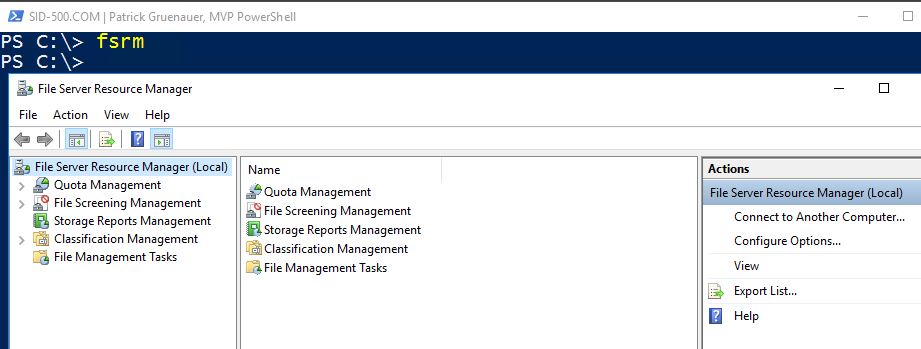
Or open the FS Manager with the command
fsrm
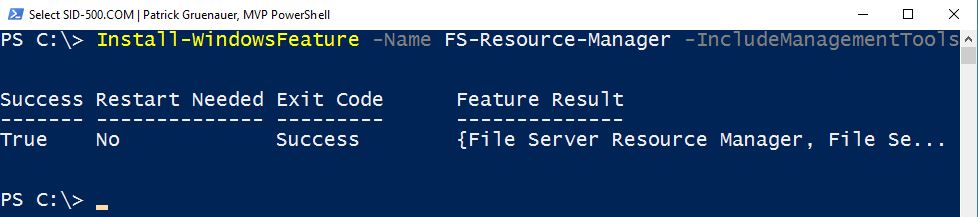
If the FS Resource Manager is not installed, install it with PowerShell:
Install-WindowsFeature -Name FS-Resource-Manager -IncludeManagementTools
Ok, that’s it. Let’s move on with modifying the error messages users get when they are access denied to a file or folder.
Configuring the Access Denied Error Message
There are two ways to accomplish this task. Using the FSRM Manager or using GPO.
Using the FSRM Manager
Open the FSRM Manager. Right click File Server Resource Manager (Local) and select Configure Options.
Click on Access-Denied Assistance and tick the checkbox Enable access-denied assistance. Now modify the message users will get when they are access denied to a file or folder. You can also enable e-mail requests. Make sure your mail server accepts messages from your file server.
Click Ok. Now we need to configure the client computers as well.
Using GPO
On a Domain Controller of your domain open gpmc.msc
gpmc.mscCreate a new GPO. You’ll find the exact same settings in
Computer Configuration\Policies\Administrative Templates\System\Access-Denied Assistance
Configure the settings that meet your needs and link the GPO to the Organizational Unit of your File Servers.
Configuring the Clients
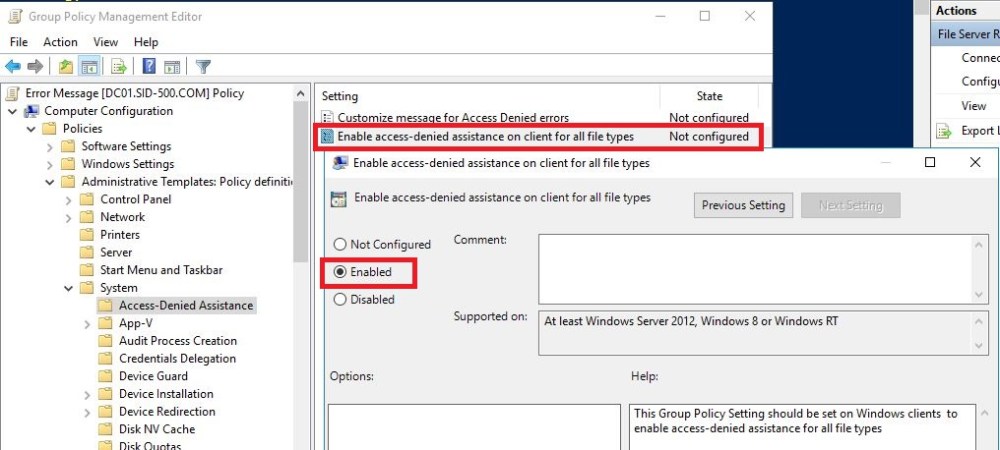
Create a new GPO Object and enable the setting Enable access-denied assistance for all file types.
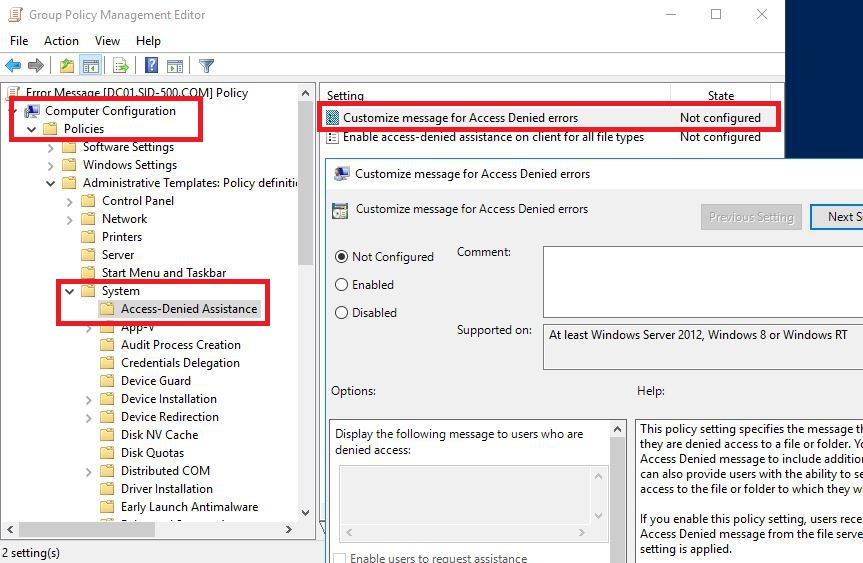
In the GPO Object navigate to
Computer Configuration\Policies\Administrative Templates\System\Access-Denied Assistance.
Select Enabled.
Link this GPO to the OU of the Client Workstations.
The Test
Now when a user is access denied to a file within a shared folder, the user get’s the message you’ve configured.
Conclusion
Try to be user-friendly as much as possible. The shown above is a feature for your users. It brings user-friendliness. Remember: If you are good to your users, they are also good to you.
Categories: Windows Server


thank you , I am still trying to figure this out warmest regards Louis pasty Addesso jr
LikeLiked by 1 person
Thank you!
LikeLike