
I really like PowerShell Web Access. Access PowerShell from any device. But what gets on my nerves is entering the server name again and again. If you only have one server, it is unnecessary to enter it’s name. If you want to specify a default server name then this article is for you.
Installing PowerShell Web Access
For installing PowerShell Web Access see my article Windows Server 2012/2016: Installing and Configuring PowerShell Web Access (PSWA)
The Goal
What I’m talking about is this:
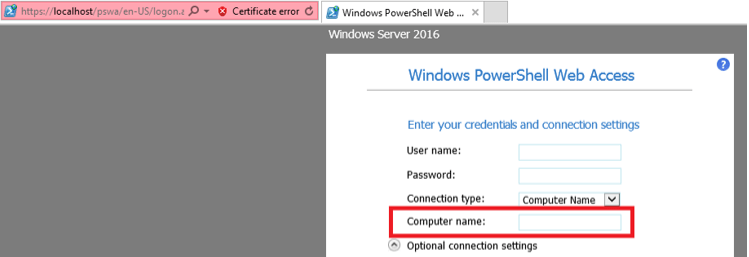
We have to provide a computer name, because this server can act as a gateway for other servers. This means, that you can access other servers from this web interface.
The goal for this article is to set a default computer name, so that user do not always have to enter a name.
Modifying the Computer Name
I am logged on server DC01. Keep in mind that with the installation of PowerShell Web Access, IIS is also installed.
Navigate to C:\Windows\Web\PowerShellWebAccess\wwwroot\en-US.
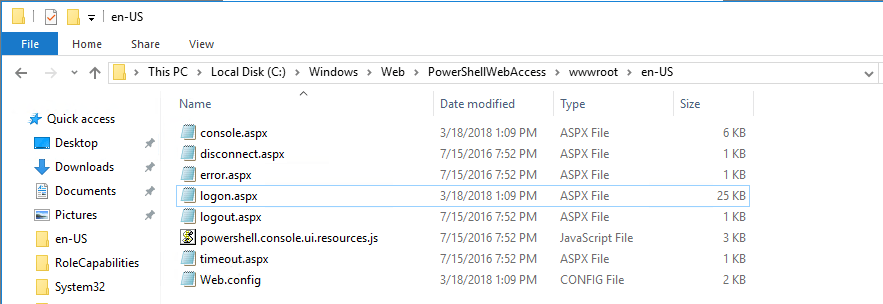
First, we have to take ownership of the logon.aspx file.
takeown /f C:\Windows\Web\PowerShellWebAccess\wwwroot\en-US\logon.aspx

Now grant your account full control:
icacls C:\Windows\Web\PowerShellWebAccess\wwwroot\en-US\logon.aspx /grant sid-500\administrator:F

Now open logon.aspx with the Editor. (make sure you open notepad with administrative privileges, unless you will not be able to save your changes!). I recommend opening notepad as administrator and then open logon.aspx.
Now go to the field “computerNameField“. Type input value=”servername”, as shown below.

Before we proceed we restart the IIS Service, for good measure.
iisreset
Nice. I think we’re done.
The Test
Open PowerShell Web Access using https://servername/pswa.
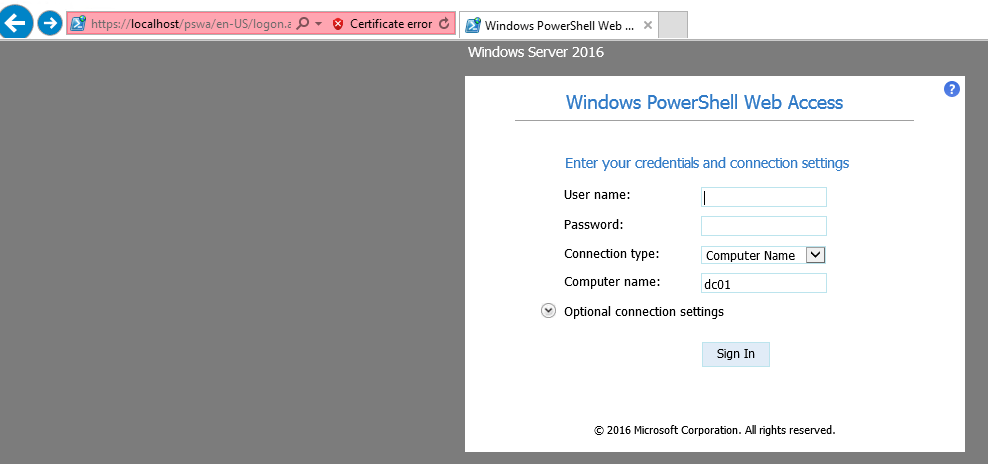
Nice. It works. The computer name field is automatically filled with our server name.
Have fun with PowerShell Web Access!
Categories: PowerShell, Windows Server


